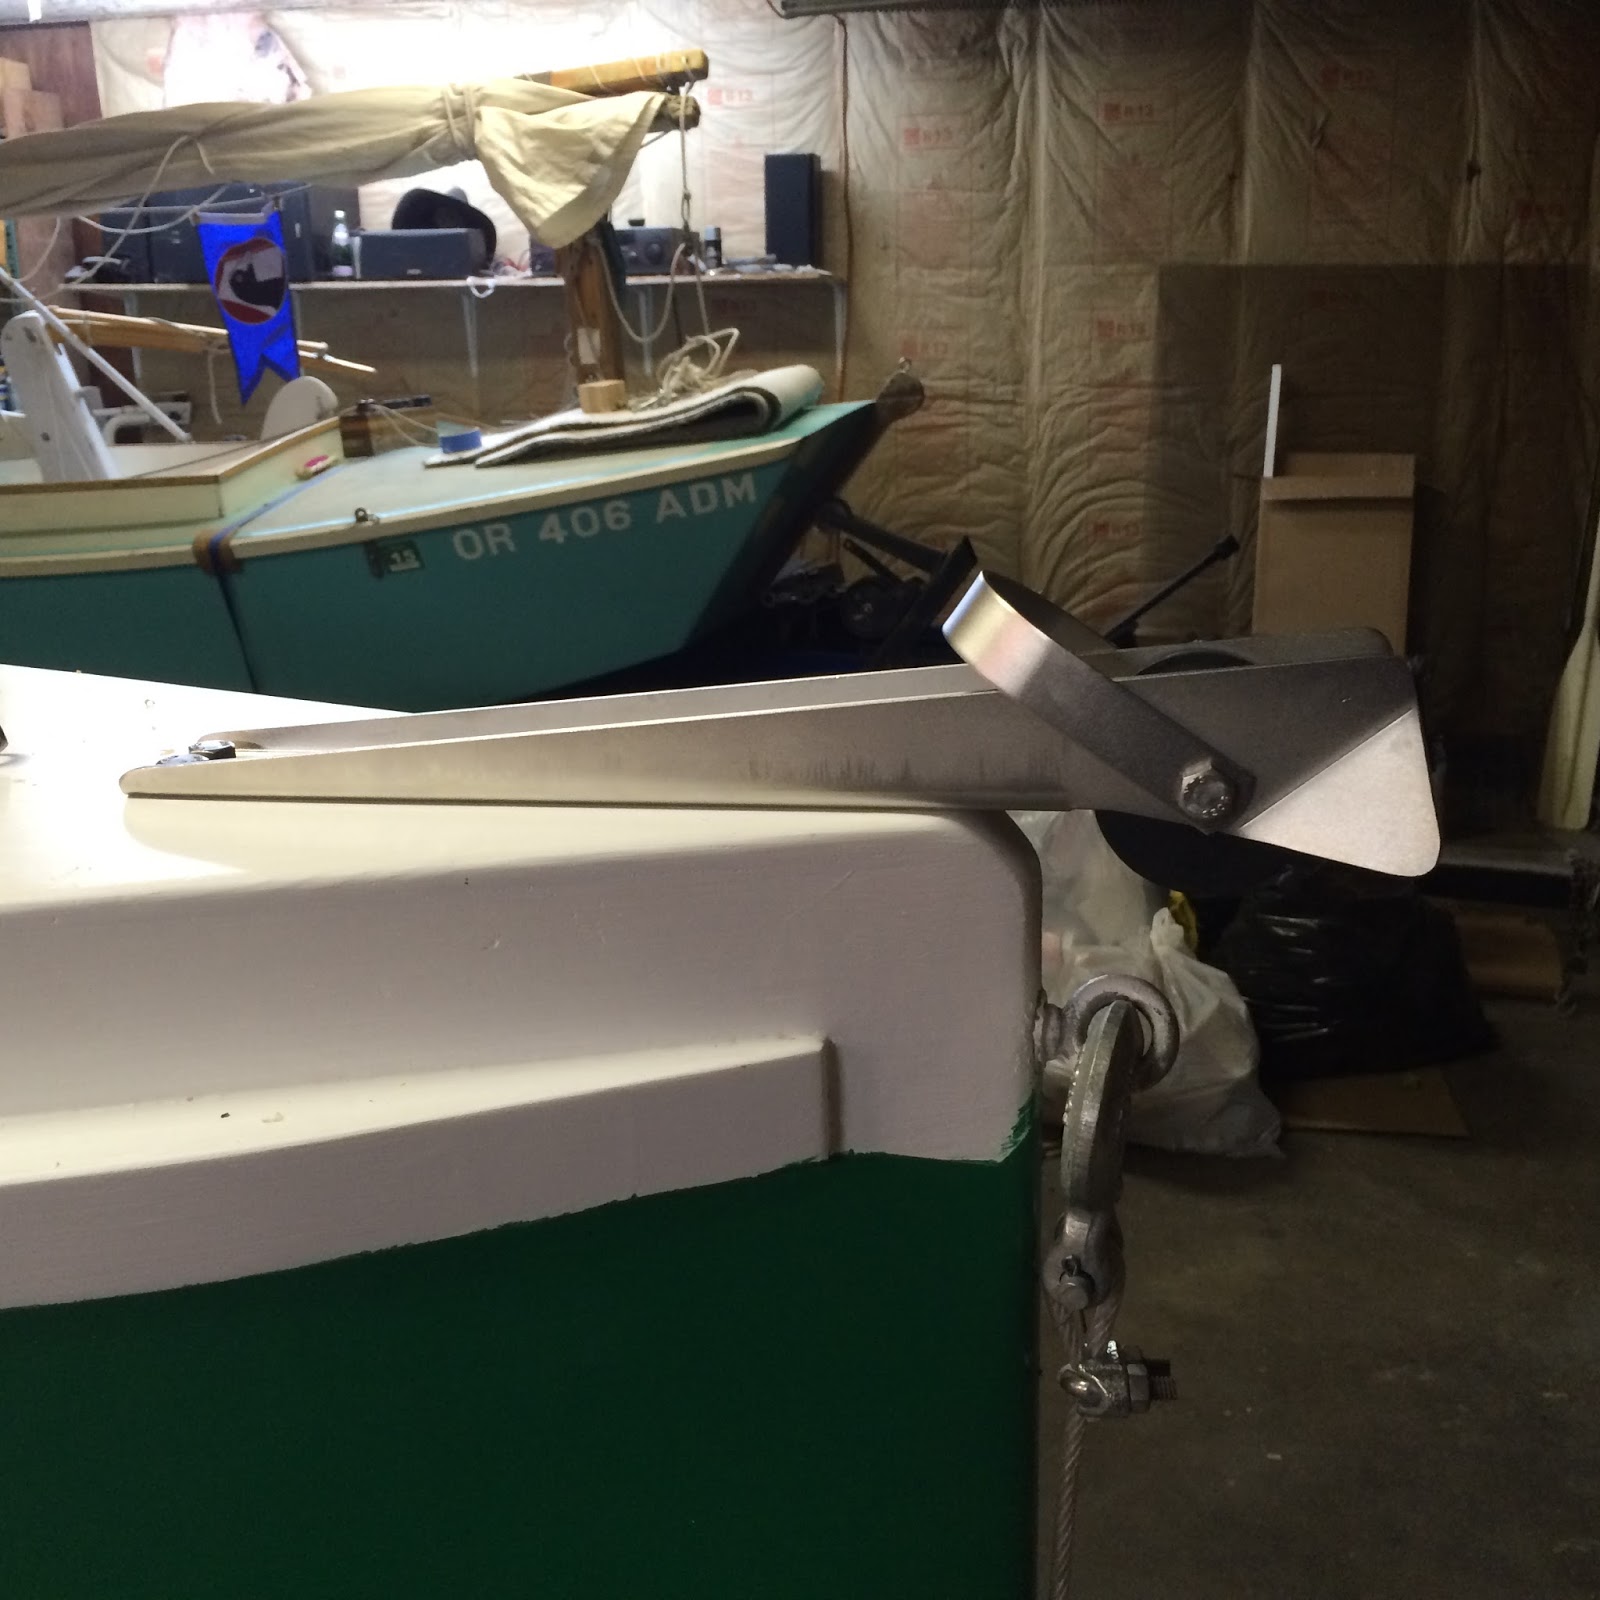
As any one who spends much time on the water knows, one of your most important safety devices is a decent anchor. I found this extremely nice pulpit for only $30.00 and the local 2nd hand chandlery for $30.00. They had another one marked at $70.00 that wasn't really any nicer. Proprietor looked pissed it was priced that low :-) I backed up the ply on the deck with some lumber from the stem to the first bulkhead for just such an occasion. It's through bolted with stainless. The anchor can simply ride in there ready to drop at any time.

Knowing full well that I'll be playing with the position of the sail to figure out the balance for the boat, I rigged a bleater like on Mik Storer's website. The double downhaul thing is cool, but this was much quicker and cheaper. Both my downhaul and my yard block are just lashed on to be easily moved. Side benefit is no holes or concentrated stress in the yard or boom.

I missed Fern Ridge with the Coots because my trailer wasn't ready, but the weather report got me thinking I should bust out some half decent hard hatches for transport if nothing else. A lot of rain can fall in a boat between Portland and Eugene if it has a slot top and no drain plug. This is right after priming. Probably won't need them this weekend, but good to finish anyway. With these babies I'm rain tight except for the mast partner in the deck. I've got a plan for that, but it's not a critical thing this week. Thinking about soft top options for the long top hatch.


The next thing that had been bugging me is no good place to attach docking lines (though this boat is meant to go to the beach and eliminate the need for a dock, there's at least one to be dealt with where you launch) as well as needing a place to rig fenders and secure trailer ties. So I mounted some cleats. Once again, through bolted through the inner wale and ply with washers and stainless steel.

Rigged a stout fairlead for the leeboard down haul. It doubles as an anchor point to tie the board up for trailering. I've just got the line thrown in through the aft hatch for now, it's easy to work standing in the slot. Jim suggests drilling a hole in the side of the boat, which would be cleaner. Another place for rain and spray to get into the boat though. I'm going to try and avoid drilling the hole.

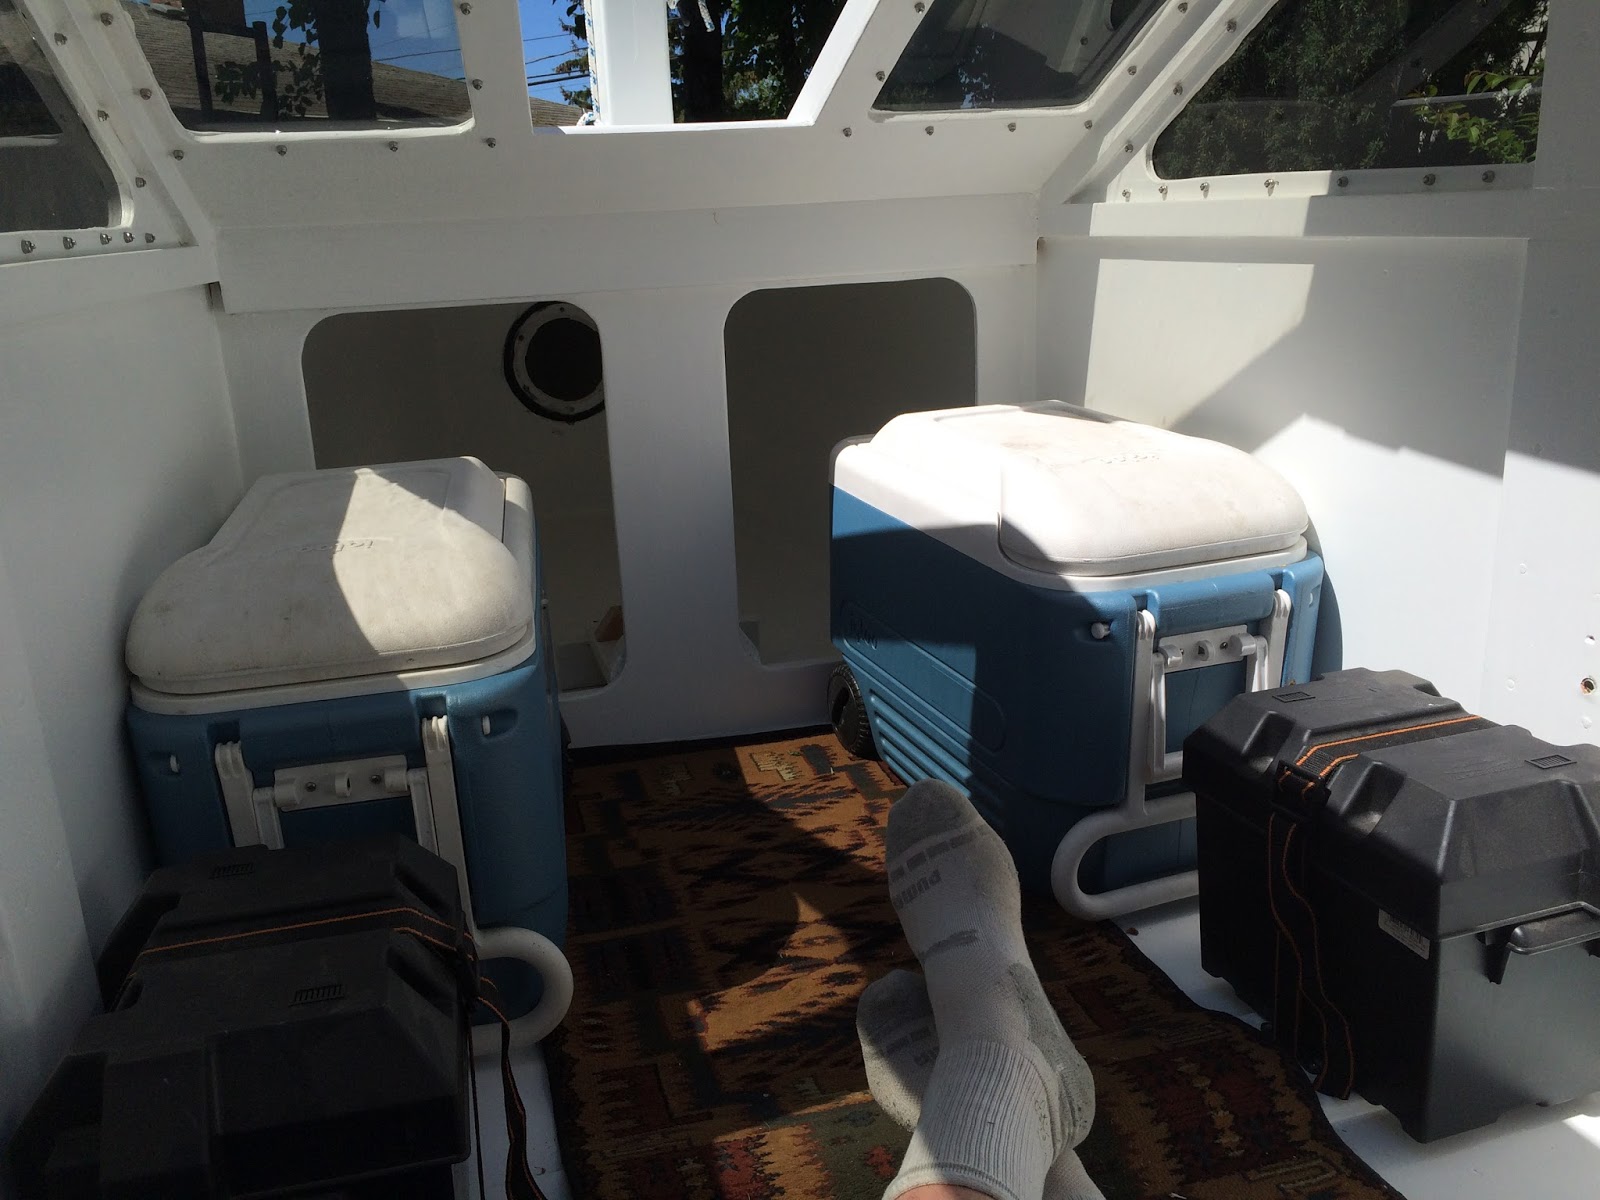
You've seen how I'm going to set the coolers in here. I wanted solid anchor points to strap them in good for at least a 90 degree knockdown. Battery boxes are screwed in to bejeezus as well, and I've got almost half my ballast as useable juice. Solar panel in the future maybe?


I threw anchors at the rear bulkhead as well. I might find some cushions that I can keep strapped up to the sides as backrests while sailing, but tall enough to basically turn the whole 48" x 42" section of the cabin aft of the batteries into comfy bed space. I can use the throwable cushions for the other 26" of my legs. This will be a comfy boat to sleep in.
The black fairleads up higher are for the tiller. I can noose a line around it, run the ends through the fairleads and I have remote steering. I can even go so far as to rig a Paradox style loop all the way around the cabin. I'll see if there's any need or desire for that.
The pinch cleat in the center is for the main sheet. Easily yanked out of there in an emergency.
The pinch cleat in the center is for the main sheet. Easily yanked out of there in an emergency.


I have a drift boat trailer I found cheap on Craigs list that has the wheels 6ft apart and would let the boat ride a lot lower. Axle, springs and hubs are pretty rusty, and i have to modify the supports to fit the boat. I has an epiphany on supporting the front of the boat on the existing trailer with little effort. The 3x3 timber you see right down agains the trailer was my mast test stub I built for practice as well as to help with getting the mast step and partner right. Shores up the droopy front ends of the existing trailer bunks nicely. Lagged the bunks into the timber. Shaved a 2x4 to a bevel to match the hull, nailed on some scrap carpet and lagged the 2x4 into the bunk ends. It's all super solid and stable with the hull well supported near the bulkhead. Should get me through the season before it rots.
The boat sits a bit higher than I'd like. We'll see how far I need to back in to get her to float off at the local ramps. As long as I don't need to get the truck wet, this little trailer will work well and it's like brand new.
The boat sits a bit higher than I'd like. We'll see how far I need to back in to get her to float off at the local ramps. As long as I don't need to get the truck wet, this little trailer will work well and it's like brand new.

Aft end of the bunks already well supported. Just had to bevel/carpet/lag down the 2x4. once again very near the structural bulkhead.

The Center of weight/bouyancy is very near the Leeboard pivot bolt. Once again, that's where the bunks hit the hull and right where the group 24 deep cycle batteries are going to sit. Be nice if the bunks were all the way out to the chines, but the 1" thick bottom with a layer of 9oz glass can probably handle it considering the other support on the hull.

And there she is. Ready to splash on Memorial day weekend. Once I throw the new radiator in the truck.....