Monday, September 28, 2015

Fair and cabin framing

So I got up Sunday morning and the Glue was hard enough to spend a couple of hours with the Disk grinder and plane and fair a few things up.


In order to get my butt into the boat and keep working, I now needed to cut out the "crossbars" in the fore and aft hatches.  Luckily I had glues in the stabilizing longhorns and gussets the night before.  So I cut the obstructions and went to work on these.


A little more time with the plane and disk grinder, and here's how things were looking before I cleaned up and headed out to do family stuff.


 This is a shot of me standing in the fore hatch and looking straight down at the mast partner in the deck.  Stepping the mast on or off the water should be VERY easy.  This was the main reason for the cabin design change.


 I found this cooler to make the perfect portable step for getting in and out of the boat.  It also makes a nice arm rest for holding the tiller.  I'd thought about mounting the battery here, But it's very apparent that this portable cooler Is going to be a handier, more useful thing in the space.  Battery will go against the bulkhead at the forward end.  It's lower in the boat there anyway.


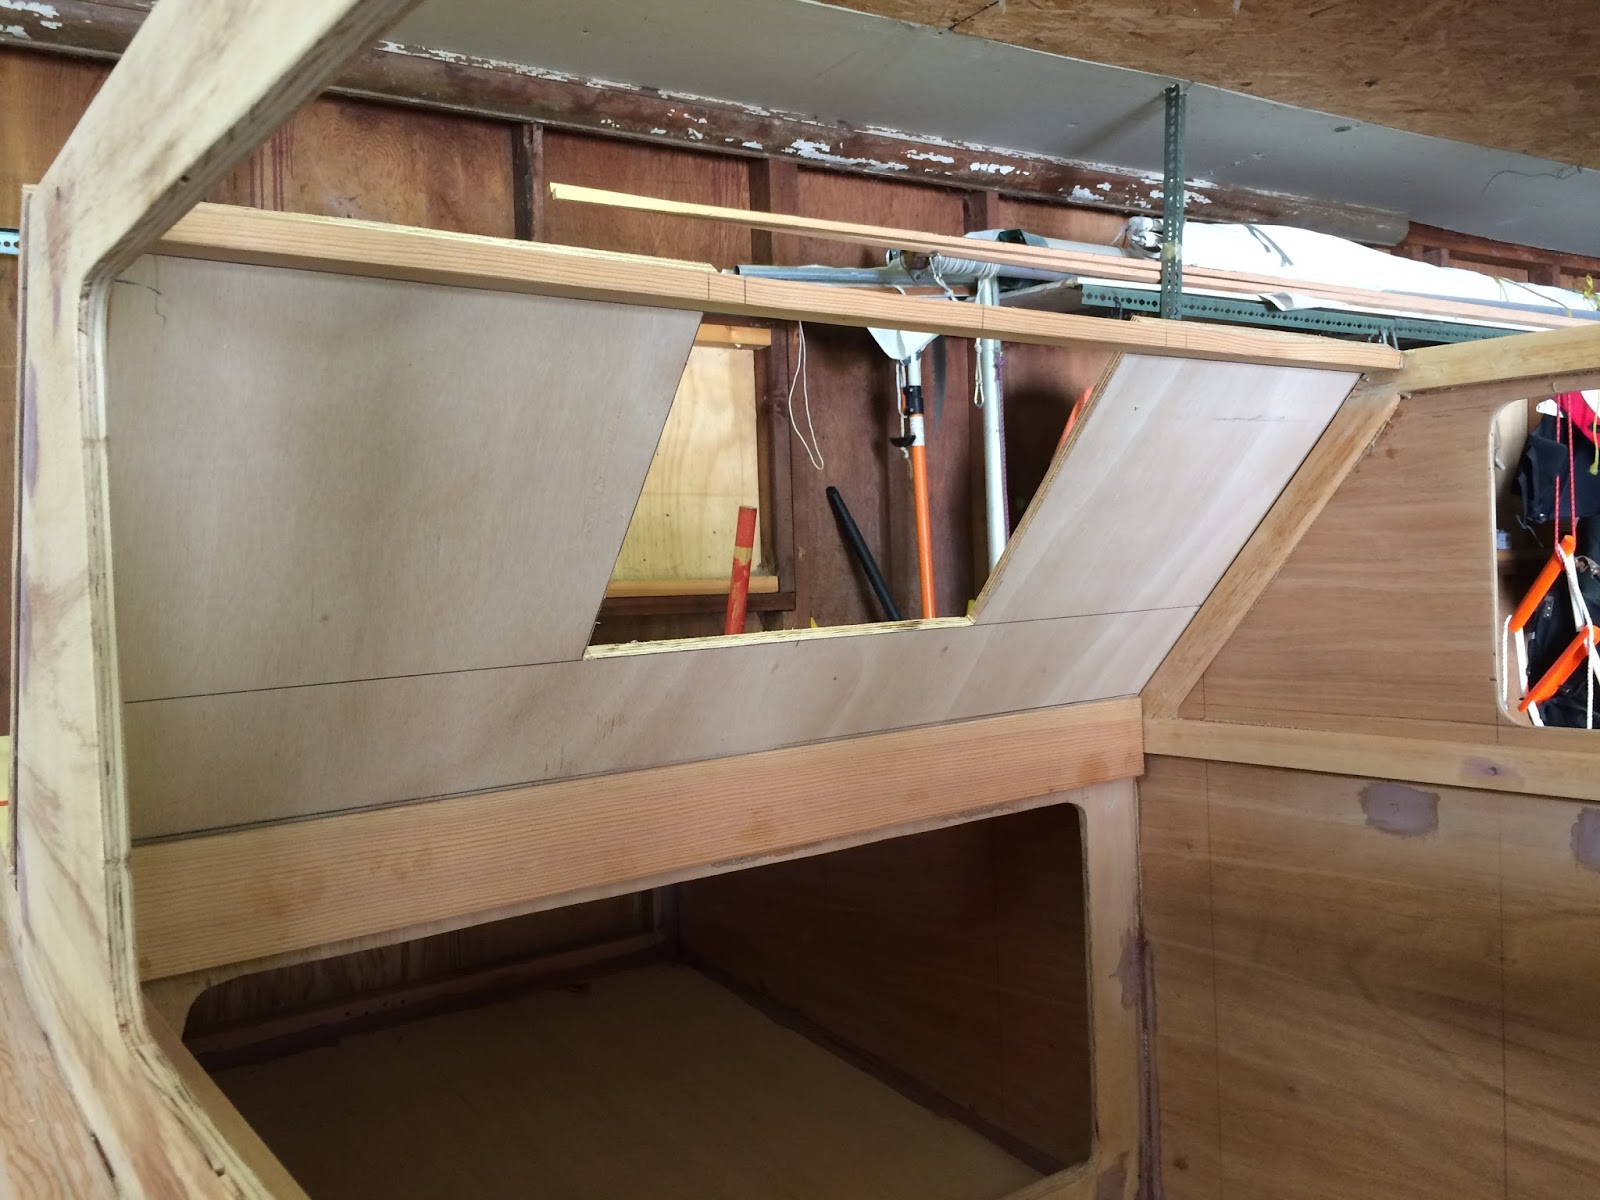
This is where the battery will go.  No problem straddling it with my feet while stepping the mast.  I rolled the boat outside to Blow off all of the dust.  Sticking the hose in the blow side of the shop vac works well for this and is much quicker and easier than trying to actually vac everywhere.  Still, there was a bit left in the shop.

I really need to get better about rolling the boat outside BEFORE I start sanding and shaving :-)


Saturday, September 26, 2015

Decks and Cabin ends on for good. A video walk.

So I put in a strong 5 or 6 hours today and got most of the top on the boat.  I figured a video would be more informative that the pictures and typed dialogue.  Enjoy.


Monday, September 21, 2015

Pre deck painting

Well now I have all of the internal stuff done that is much easier without the decks in the way, It's time to get those ends pre-painted before throwing the decks on.  I stopped by the Miller paint store, and they recommended their Acrilite semigloss latex with an oil base primer to make sure it sticks to everything (Wood, epoxy, PL premium).  Masked off some surfaces and got to it.

I did one coat of primer and 2 coats of finish and had no problem calling it done.  Each coat took a total of just over an hour using a 6" roller and a brush.


Came out pretty nice.  I also laid a little down on the bow and transom where i'm going to mount hardware before putting the decks down.  Bow eye in front and rudder gudgeons in the rear.


This paint is supposed to be as hard as an enamel after 21 days but maintain the flexibility of latex.  We'll see :-)

Thursday, September 17, 2015

Messing with the mast step

So I got around to making my step adjustable last night.  Started by trenching the opening as far back towards the bulkhead as i could.  I won't be able to come full vertical due to the Added block I've glued in (Not on Jim's plans, I just thought it was a good spot for more beef.)

Then I whipped up a second block that will be bolted down to bring the step back to the original proportions.  Now that I have a confirmed rake, I beveled the mast bearing face to 5 degrees to match.


I can use this same block with at the front of the opening for the more vertical mast position.  I'm not so concerned with the bearing face here as the heavy loading from the sail will almost always be towards the bulkhead.


Sorry about the inverted view, I thought I fixed that before I imported it.

So here's the results at the deck

New position @ 2 degrees.  Close enough to vertical that I don't think i'll have a castering problem with the Junk sail.


And the original 5 degree design position.

The opening in my deck is a little long, but that's ok.  Makes it easy to stab the mast, and having to drive a wedge really firms everything up nicely so there's no "mast rattle" in choppy water.  I could also glue a shim to the back of the mast permanently to take up most of this slop.

I can't think of anything else I need to do outside of drilling the bolt holes and a little sanding.  It's time to prime and paint the interior and underside of the fore and aft decks.  After those are nailed down, it will be time to finish out the cabin faces and top.


Tuesday, September 15, 2015

Prepping the foredeck

So the foredeck is gong to have the mast partner.  Need to get that done before painting the underside.  I decided to add a backing clock at the forward end as well for the mounting of a stout cleat at a minimum and potentially an anchor roller.  With the roller I could deploy the anchor from the cabin and never have to bring the wet muddy thing inside the boat.  Anchor line can run up and into the cabin through the same vent opening the halyard and downhaul are coming through.  Keep a bucket for the rope and life is good.


I haven't found a pair of dry, clear 2x4's yet to make the mast.  Everything has been soaking wet that I've looked at and heavy as heck.  I had an old 8ft stud with saw hacks and nail holes floating around that I though would make a good stub to check the alignment and fit of the step and the partner.  Doing the math on the drawings I come up with a rake of @ 4.5 degrees by design, and I really want to check this and make any adjustments be fore painting of course.  So I whipped out a quick 4ft mast.


The wedge you see in the third photo brings the rake to 5 degrees.  Pretty close.  Had to cut 2" off to get it through the partner without banging the ceiling :-)

I'm going to be playing with a few sails on this boat.  As I've discussed before, the designed 138fts balanced lug is probably too much for my waters, and in discussing it with Jim something @ 100ft2 is probably more appropriate.  I have a 75ft2 lug for my Pelican I'll try on her.  I also have a 78ft2 junk I made for my trimaran, but the 8ft chord is probably not enough to get the CE far enough back. I've got one @ 110ft2 on the drawing board that looks like it will balance nicely, but for that I'll want a vertical or near vertical mast to avoid it castering to the centerline in light winds.  As a result, I'm going to trench the step back another 2.25", and then make a block that bolts in over the unused portion for either the raked or vertical configuration. I'm also checking out some stock sails for Jim's other boats in the @ 100ft2 range.  The classic Windsprint/IMB is about the right size, and I'm sure Dave over at Polysail has that one dialed.


Sunday, September 13, 2015

Getting some decks done

Now that I'm ready to paint the end compartments, I figured it was a good time to get the decks and cabin top/ends ready to roll.  I can get the under side of those painted while I have it out for the compartments.  I'm actually going to paint the main cabin interior later after I've located all of the hardware and such.  It's pretty roomy and I'll have the slot top to stand up in.

I started with the foredeck and cabin front.


The center opening in the cabin is going to be a plexiglass drop board.  the cabin top itself is only @ 4ft long, so I'll have one big hatch that lifts off that i can bungee down from the inside if it gets really rough.  I'll also be able to slide it forward or aft to make an opening.  Jim had this as all fixed windows with a traditional aft entry and sliding hatch.  I didn't see any good way to get to the foredeck that way, and this was my solution.  I wrote Jim about it and he thought it made the boat a better design, provided I have a good way to secure that hatch.  In nice weather I can pull both ends and the top and be well ventilated.

Next was the aft deck and aft cabin.


I'm going to be 16" wide on the slot, the top of the fore opening and all the way down at the aft.  Jim actually drew this a little wider, but I wanted to maximize the seaworthiness with the hatches off.  I made sure my coolers and my honey and gut would go through no problem.  This leaves @ 14-1/2" minimum from cabin side to slot.  She draws 8" at design loading, but the bottom is wider than the sides.  Hopefully she floats at design weight over 90 without the water reaching any hatch openings.

I'm thinking of dropping the aft hatch opening as well as the (2) front fixed windows a little lower for better visibility from inside.  This shouldn't effect safety at all.  I'll leave the front center high as the lines from the mast and the air vent sit below that window.  Mast obstructs that view to some extent anyway as well.

she's starting to really show her end form.