Friday, August 28, 2015

Details before painting inside and putting the deck on

So it's obviously going to be much easier to paint the end compartments before i put the deck on.  I'll also want the bow eye and the rudder hardware mounted while I can easily reach in with the backup wrench.  I wanted to get a layer of glass on the stem and the bottom of the transom, so I laid that cloth.


After a couple of coats of resin set up on the cloth, I trimmed and sanded.  Then I mixed up some resin and 407 fairing compound and started hitting screw heads and fairing the weave of the cloth a bit.


The last thing I wanted to get done before sanding down the fairing putty and starting in with the primer and paint in the end compartments is get the inspection hatch put into the forward buoyancy compartment.  Jim shows this getting filled with foam, but i didn't want to just foam and seal it.  Seems like a good place to get rot started that way.  I also want access with a backup wrench for the bow eye and any other through bolts I might decide to put in front of that bulkhead.  I'll stuff as many empty plastic bottles as i can in there through the hatch after the fact.  I'll leave it open when the boat's not in use so air can get in and moisture out.


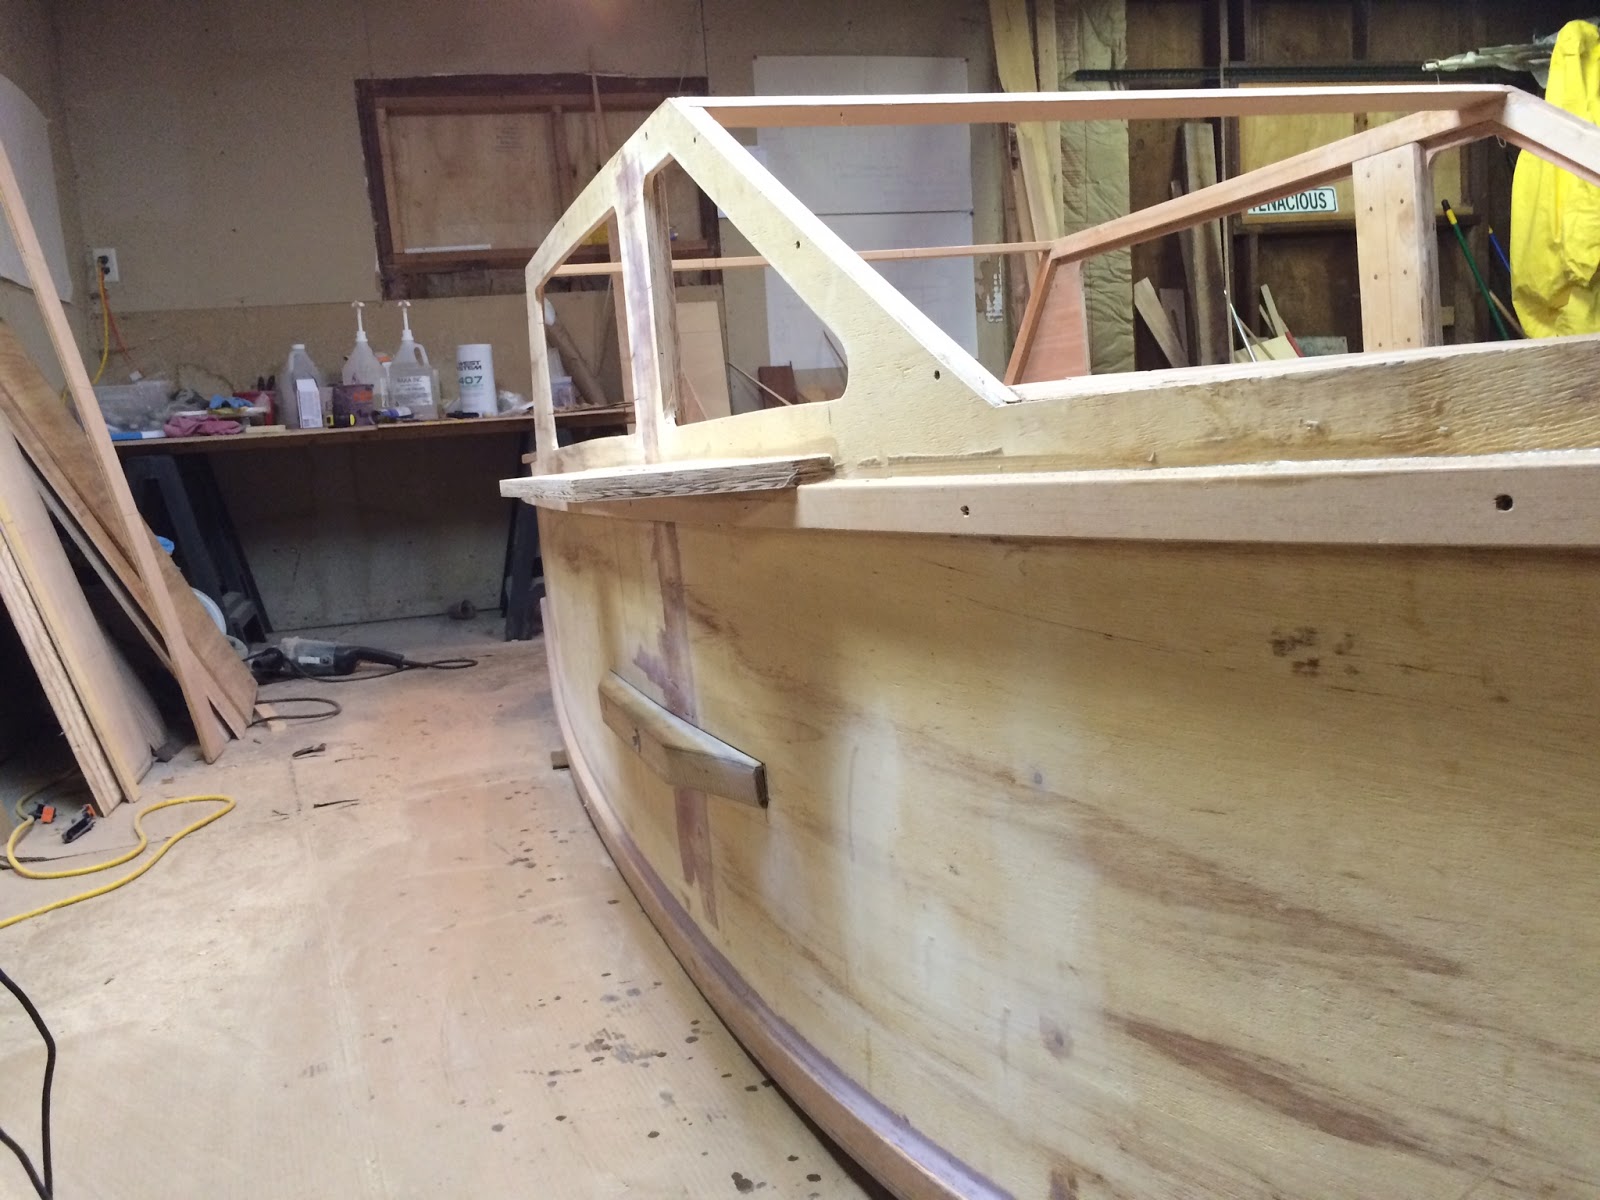
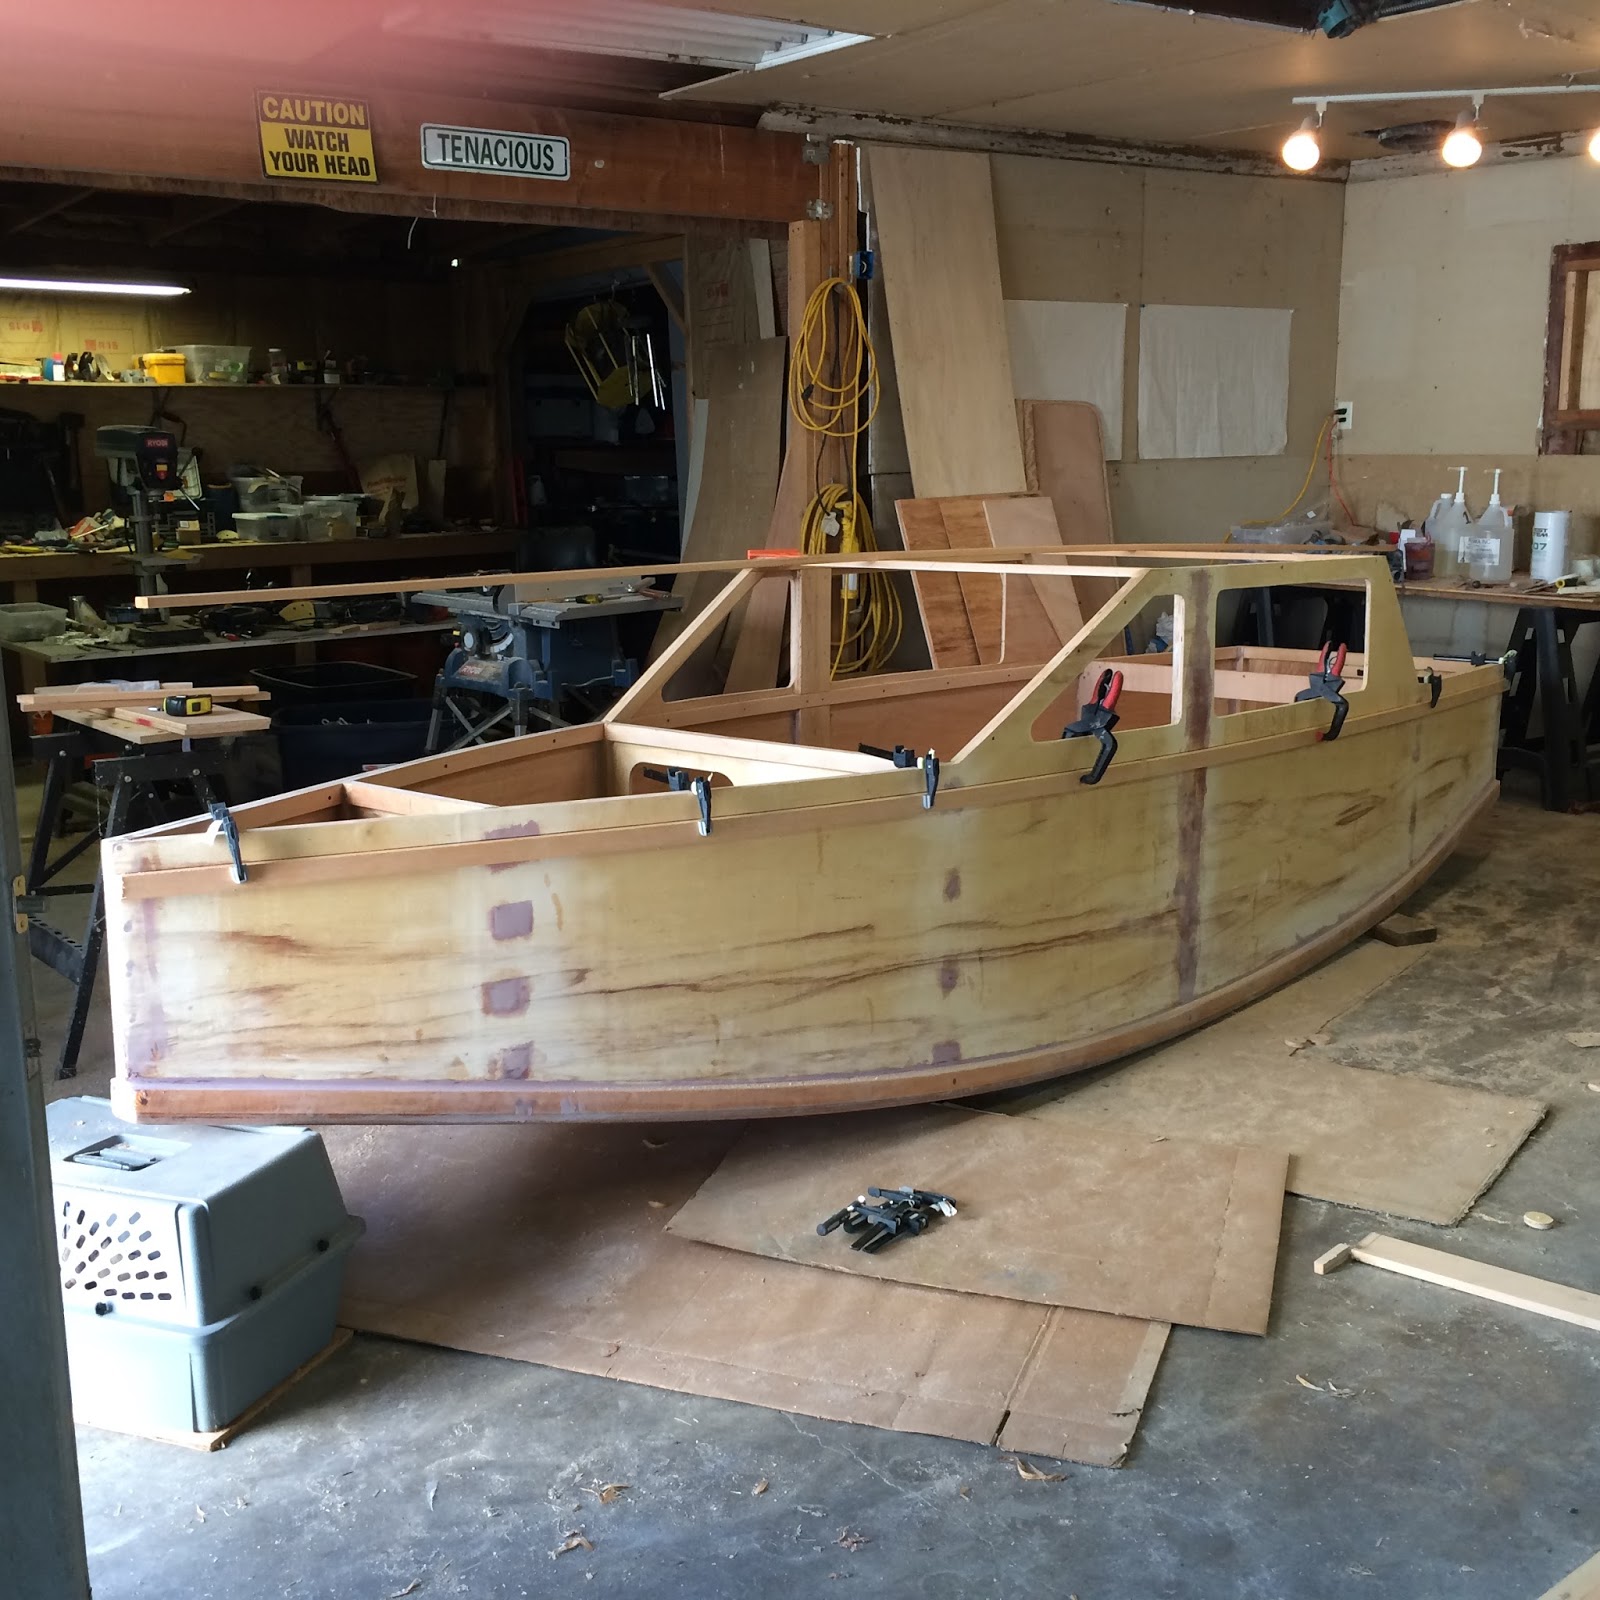
I'll finish fairing the stem so I can prime and paint that before putting the bow eye in for good.  I'll also fair and paint the transom so I can bolt up the gudgeons as well for the last time.  With that done and the two forward as well as the aft compartment painted, I can put on the foredeck and the aft deck after pre-painting the bottoms.  With the slot top and no windows, the main cabin interior won't be bad to do later.  I can keep detailing it and paint it later.  I'm hemming and hawing about where to glue in mounts for the battery box.  I've also got to drill for the leeboard control line(s?) to bring them into the cabin.  I've also got to decide my final routing for the main sheet aft.

I'm getting really close to closing her up and doing the entire paint job.


Tuesday, August 18, 2015

Rudder uphaul and motor mounts

Just puttering along after work tonight.  First thing i did was glue and screw in a 3/4" ply backing plate to where the motor mount is going to attach.  This should give plenty of meat for a little 2hp, especially my little 2-stroke Evinrude.  I ever win the lottery I'll pick up a 4-stroke Honda.


I haven't decided wether to build a mount, buy a fixed mount or use a moving mount.  There seems to be a real lack of mounts for small motors these days.  everything is built for 10hp and up that I can find.  There used to be a lot more variety.  I've got time to keep an eye on the local 2nd hand chandleries though, maybe something appropriate will pop up by the time I need to launch.  

The other thing I got mostly done was rigging for the rudder up haul.  Tiller rides so close to the top of the transom penetration I can't just put fairleads on top.  I set my table saw blade at an angle and cut a groove, the cleaned it up with a chisel and some sand paper.  This would have been a good job for a router table if i had one.


figure out the place for the hole in the rudder and drilled it.  it all works pretty slick.


It still works even if the line falls off the rudder radius to the side, just take a stronger pull.  It has an amazing tendency to keep riding on the curve though.  I did have an issue with the line being pulled sideways out of the groove by yours truly, and it would get stuck to the side of the tiller penetrating the transom.  I rigged a high tech fabrication intensive end of groove fairlead.
I'm going to get a piece of angle made up to replace the washer at the after tiller bolt to act as a fairlead on the aft end.  The the line will really have a tendency to stay in line with the rudder radius.  I'll leave the rest of the slot open outside to act as a rain gutter and hopefully get less water running into the boat in a good rain storm.


Sunday, August 16, 2015

Rudder not so temporary now

Got all of the glue chiseling done under the wales last night.  Got it done in less than two hours comfortably seating in a rolling chair.  Only took 2 glasses of whiskey :-)  Trailer height thing is working well.

The rudder is now also a stand up straight project.  I dove into finding the permanent locations for the pintles, gudgeons and drilling the holes for the throughout bolts to hold them.  After reading about the PDR Duck fleet in the Texas 200 losing their rudders and why, no way i was going to just screw them on.

Once I had it all mounted, I found that the inside of the rudder was hitting the lower pintle bracket and screw head, and I had to do a little more shaping to make it clear.  Not a problem at all, it's not on the immersed sections, and there's plenty of meat there.  Just one of those little details you find need attending as you put stuff together for real.

Here is is all mounted up as it will sit for posterity.

You might notice my tiller hole is looking a bit big.  I'll blank off the lower portion with a plate after I get my uphaul and possible downhaul figured out.  If I'm smart I'll just take Jim's advice and cast a chunk of lead into the rudder for a downhaul.

Jim specs a piece of timber 1-1/2 x 1-1/2 rounded to 1" diameter at the helmsman end.  I didn't have anything long enough left in that size, but i did have some 1x2 and 1/4" marine ply.  I just laminated a layer of ply on both sides of the 1x2, and ended up at the right dimension.  It's plenty strong, and has the added benefit that the mounting bolts are a lot less likely to split it out now.  Mounting the tiller is when i found I had to raise the hole in order to get enough bearing on the headstock for the rudder.  Barely enough room with my backing block for the upper gudgeon.  I could have flipped that pintle and gudgeon and gotten another 1-1/2" clearance, but i want to be able to just unbolt the tiller and lift out the rudder assembly.  Tiller itself keeps it from jumping up and out.


I'm going to end up trenching the top of the tiller for the up haul to make it under the top of the hole in the transom.  Once I'm inside the boat it can jump up on top of the tiller to a jam cleat.  I'll drop a plate on top of the tiller so it acts like a long fairlead several inches into the boat.  should work well.  I left that bevel on the rudder end of the tiller to drill at an angle up into the trench.  the bevel allows the rudder to come up a little past horizontal before the till acts as a stop.

Took the tiller back off and did a little shaping "until pleasing to the hand"


Now that this is all laid out, time to figure out the motor mount.

Saturday, August 15, 2015

Elevating my work.

A request to bring my build down to the Port of Toledo boat show got me looking harder at my trailer solution.  I ended up not getting it together in time for the show, and we ended up having more rain than I wanted to tow an unfinished boat through on the day i would have had to drive down anyway.  I drove out to Oregon city to look at a drift boat trailer.  They seem the perfect solution for a flat bottom boat with a lot of rocker.......

It was over priced crap.

Now I have a little 1100lb rated PWC trailer that's just a little too narrow between the wheels.  Didn't really want to jack the boat up over the wheels, and didn't see a clean way to do it without some metal fabrication.  Sometimes the simplest crap escapes us.  I loosened the clamps on the existing bunk bards and slid them out towards the rails.  The are riding on V shaped crossbars. Out and UP they came.  Top of them now JUST clear the fenders.  Why did this take so long to see?


Now I can get under the wales to chisel off glue squeeze and sand without crawling around on my knees.  It really puts the boat at a nice height for a lot of the work left.  Best of all I can roll it outside now for glassing and sanding.  The continuous dust bowl in the shop the last couple of months is getting old.  Clean it up, and then a little sawing, disc grinder and sanding and it's covered again.

Lee board looks huge on the side of the boat :-)  using the 4% rule, the leeboard alone matches up to the design 138ft2 of sail.  I'm only putting @ 100ft2 on here because the winds where I'll be are usually either strong or gone.  That's how much is on the Paradox, and it's a similar size and weight.  I'll probably being playing with some different leeboard sizes and shapes.  Jim talks about this in one of his newsletters.

Wednesday, August 12, 2015

95% Leeboarded

Got to work on the lower pivot guard.  Found an old doug Fir stud with nice tight grain that actually measured 1-5/8" thick.  Score :-)  Traced the curve like I did with the upper guard, and after I had a good fit there I transferred the inside edge of the slot in the upper guard using my centerline straight edge again.  Cut that on the table saw, then traced onto some 1/4" real marine ply I just happened to have floating around.  Glued and clamped onto the upper and lower faces, the took every thing down flush with a plane.   Smoothed and rounded with the 4" grinder and mouse sander.  Found a 1/4" bolt/washer/wingnut combo long enough to temporarily clamp it in place and leveled it to the bash wale.  Sighting down through the slot, The alignment looks great.  I can always massage the slot if needed.

Getting all of this right was one of my biggest concerns on the boat.  I'm REALLY happy how it all came out.


Monday, August 10, 2015

50% leeboarded

Finished off the top leeward guard/guide this weekend.  I'm really happy with the way it came out.  started laying out the lower pivot guard and drilled the hole for the bolt through the hull.  @ 4 hours later I realized i measured up from the top of the chine log and not the plywood "floor" that Jim took the measurement from.  Hole is 1.5" too high.  Fill and re-drill, no big deal.  Still bugs me though.


Saturday, August 8, 2015

Leeboard Gaurds

One of the things I've been sweating is getting a good fit on the leeboard guards and keeping them parallel to the centerline at the same time.  Turned out to not be so bad.  I screwed down some 1x2 with one end dead on the centerline marked on the bulkheads.  then I did the math to figure out where the outside edge of the top guard was going to be in relation to the side of the boat.  I had a couple of 8ft long trim pieces with the factory edge on the 1/2 " ply, so I clamped that down and squared it off to the centerline.


Then I did the math for a rectangular blank for the top guard, marked the pivot point on the boat and on the blank.  I also marked both ends of the guard on the boat.  I slid it up until it was kissing the boat at the high point and squared it off to the factory edge on the ply.  The I scripted the curve onto the ply.  Cut it with the little skill saw, and it only to a little work with the block plane and sandpaper to flush and square it up nice.


This was only a single 1/2" layer, so i used it for a template on another scrap piece and traced it.  Cut it out, spread the PL Premium carefully and clamped the bejeezus out of it.  Jim Specifies 1" thick ply.  Once I glue and screw it to the boat, I can fair up any errors by checking the alignment of the slot the same way before I cut it.  Then I'll use the inside edge of the slot to scribe the cut on the lower pivot guard to make sure they're dead parallel.

It was actually easy.


Thursday, August 6, 2015

Wales and Details

Well I've got my momentum back.

I finished off the Wales.  The boat was stout before, but now it feels like a little destroyer.  I'm considering painting it battleship gray and giving it a PT boat number.


The pressure from the sides and wales were actually starting to bow the top of the rear cabin bulkhead.  Jim has a sistering piece of 1x4 on the top of both these bulk heads that give the cabin front and back something to land on as well as strengthen the mast partner and the rear deck where your foot will land all the time getting in the boat.  I got those beveled and glued in as well.


I've owned a beach chair for quite a while that I though might make a good helm seat for this boat.  Had to try it out.  My head ends up at the perfect height.  This is going to be one comfy boat to sail.


Jim shows a tiller that extends into the cockpit past the rear cabin bulkhead.  This is run internally of course.  Sitting in the chair confirmed my suspicion that it will be well worth the effort to stop the till short of the bulkhead and install a Layden style steering loop in the cabin.  I'll have an extension I can slip into the tiller if needed.  The other thing I need to figure out is how to route/anchor the mainsheet in the cabin for this sitting position.

Once I get the pulley system installed for the loop steering, the dimensional lumber mast partner installed, and a Bow eye well anchored and reinforced, I can paint the end compartments and put the decks on.  I'm actually starting to see the finish line.

Saturday, August 1, 2015

She went to the store

OK,

Snuck out and bent the first layer of wale on and traced it out to pre drill for fasteners from the inside.    Really starting to look like a boat.


Window cutting day

So I finally got the fillets and such sanded enough that I can get primer to stick when I paint the inside.  Started roughing the panels for the top of the boat, but knew I had to get the bashwales installed before I could paint inside and put those on.  Figured the time was ripe to cut out the window openings to help facilitate installing the wales.

I started by tracing @ 1" to the inside of all of the cabin framing.  I'm thinking I'm going to bolt and nut the windows on with Nylocks.  I also like the thought of leaving a bit of ply for structural strength.  The I got out the trusty hole saw and drilled my corners.


I connected the dots tangentially on the outside and broke out my little 4" skilsaw and cut from the outside.  Evened things up with the 7" Disc sander and the mouse sander.  Here's what she's looking like now.


It's really starting to look like the finished product.  I'd hammer in on getting the wales done this weekend, but tomorrow is the 1 year anniversary of meeting a very good woman that's still with me.  I need to spoil her for the rest of the weekend if I want to make it 2 years.  I think I do :-)