Sunday, December 13, 2015

Started making the window frames

Kind of a lull in activity the last week or two.  I'm in the Heating business and it's winter.  It's also been so dark and wet, I just haven't wanted to be out in the garage.  All that being said, I got a little done today.  I started ripping the 1/4" Marine plywood into the strips to make the window frames.

I had a bunch of 2" strips ripped up for a Junk sail batten experiment.  I was going to use them for center webs with a bunch of holes drilled on both sides to Thai lace individual sail panels between.  I was going to glue dimensional lumber on the sides for rigidity.  That never went anywhere, so I ripped it up for the window frames.  1-1/2" strips and 3/4" strips.

Cut a bunch to length to make the frames for the large rectangular window on each side, and got them laid out.


Alternating overlap in the corners


 And now I notice that my Gorilla glue is hard in the bottle.  I need to get a 60 tooth table saw blade anyway for ripping the Plexiglass, Time for a Home depot trip.

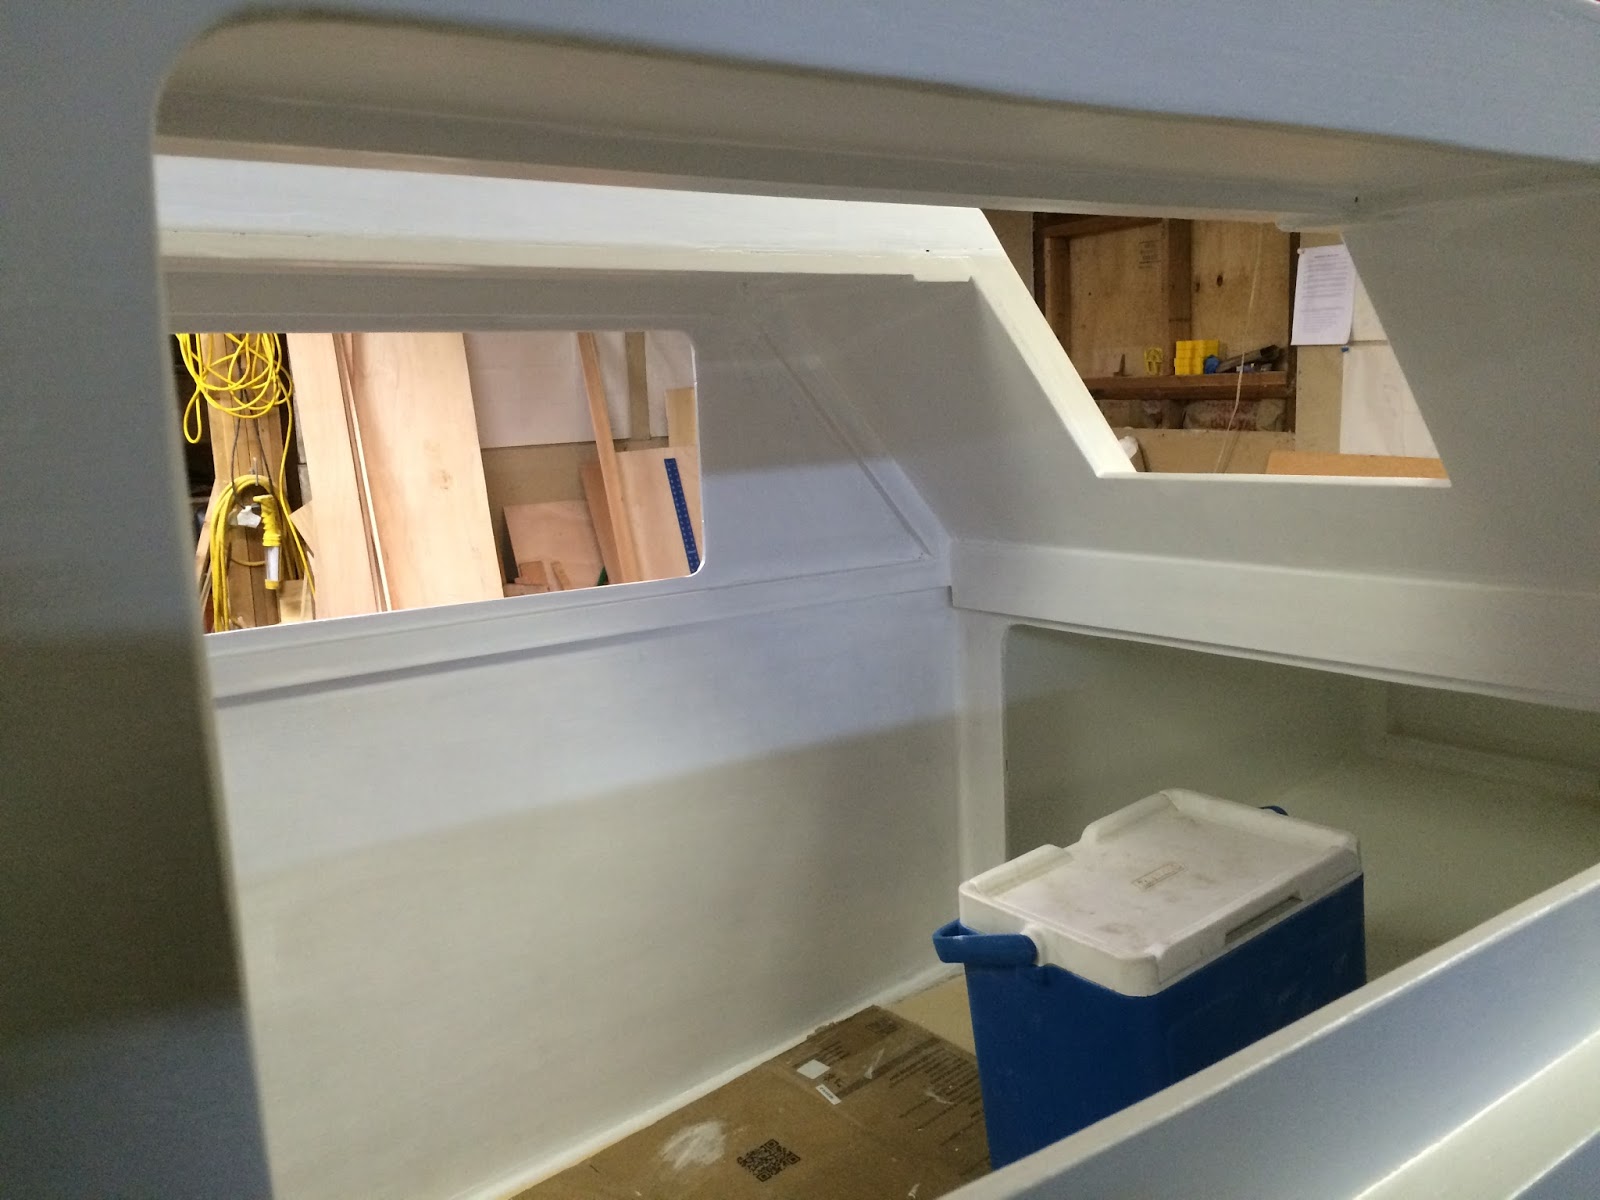
I'll glue these frames up solid and get them sanded and pre-painted.  I'll set the Plexi into the frames with @ 1/8" clearance all the way around for expansion, and bed them in latex caulk.  I'll then screw the whole assembly onto the boat, again bedding with latex caulk.   A couple coats of white paint on the cured exposed latex, and the window is done.

Once again a "little job" that's going to burn a lot more time than expected.  I think it will be a better job and much more professional looking than a bunch of silicone and exposed screws right through the plexiglass.  Using latex caulk will let me pull the frames and change out the panes if it's ever needed.  The latex is also real easy to refresh without pulling everything apart.

Sunday, November 29, 2015

Starting to play with the windows

so a few posts back I showed some plexiglass that I found on Craig's list dirt cheap.  It was tinted bronze, 4'x5.5', 1/4" thick.  I got it for 20.00 per sheet.  I started measuring and cutting windows to shape.  Good thing I had some cheap material to practice on


Got that angle wrong :-)

I also played with polishing edges and trying to remove scratches.  There's also some kind of black silicone or some such residue along a lot of the edges.  Looks like this stuff is going to end up just being practice material for my first time ever playing with sheet acrylic, and I'll probably end up with some good patterns for tracing onto some stuff bought brand new.  Turns out I can buy what I need from TAP for @ $150.00 total.

I'm staying with the Acrylic, not going Lexan.  It's optically clearer, much more resistant to all the chemicals it could come into contact with, and scratches CAN be polished out.  I'd just need to polish every square inch of the stuff I've already bought.  Oh yeah, It's much cheaper than the Lexan.  Some will argue the Lexan is stronger, but honestly the Acrylic is plenty strong enough in the right thickness.  Here's the look from inside.


 I've been reading up on how different people have attached the windows.  I really don't want to look at lots of little bolts as well as try to keep them sealed and avoid cracking the Acrylic.  I saw a method using special 2 sided tape and silicone without any fasteners, but wasn't too enthused.  I've decided to frame them in on the exterior using a frame made of 2 layers of 1/4" marine ply.  the outer layer will be @ 1-1/2" wide, the inner layer will be 3/4" wide.  I'll put the windows up "temporarily" with the 2 sided tape, then install the framing on the exterior covering the edge of the Acrylic and shooting screws from the outside that will hit the dimensional lumber you can see on the interior above.  I'll leave room for the acrylic to expand and contract inside this framer.  I'll use latex caulk between farm and window, framer and boat and around frame exterior.  there will be a couple of spots I'll need to thru bolt where there's no lumber, but it should be very clean.  If a window is damaged it's easily disassembled for pane replacement.  latex caulk is easily freshened up and painted.  I now don't have to worry about having nice edges on the panes either, they'll all be hidden.

I'll end up splitting the long side windows into for and aft panes.

supposed to get wet and warm later this week.  I'm going to have to make a real effort to get help to drag the boat off the trailer and flip it for bottom paint.  I REALLY want to get that done before I Install the windows for good.

Sunday, November 22, 2015

Assembly after paint

I've gotten all of the painting done with the exception of the tiller and possibly the mast and spars.  Those might get varnished instead, especially the yard and boom.  I'll cross that bridge when I come to it.  I also painted the whole floor.  I was going to do this with the boat flipped for bottom painting, but i haven't as yet gotten anyone by to help with the flipping.  I can't just do nothing, so i painted one half, waited for it to get hard enough to put cardboard on then flipped around and painted the other half.  No I have to keep my butt out of the boat long enough for that to harden up reasonably well before I crawl inside and start fitting things out and rigging.


Mast, spars and window fabrication.  I also need to either make or buy a motor mount.  I also need to get the steel for the ballast and a second deep cycle group 24 battery.  List to done is getting pretty short.

Saturday, November 14, 2015

Interior getting painted

So we've got a few warm days in the forecast, figured I could get some painting done on the inside.  Got a coat of primer on the interior Friday night, first coat of white on today.

Cooler is there as my step stool out of the boat.  I might have to fab a little ladder.  I've tried reaching the transom for anticipated kicker futzing, and one stage step up will be handy.  Just a slightly far reach with the feet flat on the cabin floor.  Cooler not that stable.....


Also decided on battery placement.  I'm doing a pair of Group 24 deep cycle batteries.  I played with a single one on the centerline. but ran into issues at both ends of the cabin.  The placement shown is ergonomically no problem, simplifies wire routing the the switch/panel location I'm going to use, and is almost exactly at the lowest point in the boat and the center of buoyancy.  Jim figured 200lbs of steel bar bolted to the bulkheads for ballast.  Here's 80lbs of it serving a secondary use.


It should be warm enough tomorrow to get the cover coat of white on.  I might prime the floor as well and start in on painting that, at least the front end of the cabin.  That'll minimize what I have to do overhead when I get the boat flipped to paint the bottom.

Friday, November 6, 2015

3rd and final coat of paint

Last coat of Green, Final color apparent.  I like it.


Next on the list is to crawl inside and get that painted from the gunnels up.  As I've said before, I'm waiting to do the lower half of the cabin until I get all of the little bits and pieces glued down for battery boxes, gear tiedowns, etc.....  That may not get painted until after I sail her several times and figure out what I really need in there.  

After that I'll start making the windows until I get enough strong backs in here to pull her off the trailer and flip her bottom up again.  I still need to paint that.  Flipping will be easier if i leave the windows off.

Foils are getting their second coat of paint.  One more coat on the rudder and I could use her as a motor boat.  I should maybe get the registration process started with the state.

Tuesday, November 3, 2015

2nd coat, things are getting darker.

Second color coat on the hull and first coat on the foils.  Looks like 3 coats is going to be about right. The Hull will have 2 coats of finish white and 3 coats of the green, That ought to be a pretty good layer of paint.

I didn't bother with any resign or glass on the foils, just paint.  Until I know I got the shaping right, I didn't want to spend too much time and money on them.  If they work well it's an easy strip and refinish.

First coat


2nd coat


Sunday, November 1, 2015

First color coat on. And the color chosen is......

So it's Sunday morning and @ 24 hours since I put the last coat of the finish white.  According to the guys at the Miller store, a good time to put my first coat of the color on.  Now I just have to restrain myself for 48 hours before cracking the can again.......

The green will get darker once i have full coverage.  A lot of white shining through for now.

I'm happy :-)


OK, had to paint something else today.  Sanded the foils and rudder head and got the primer onto those.


Saturday, October 31, 2015

First finish coats on

I don't know how much visual difference there'll be for people reading this, but I've just gotten the second coat of semigloss Acrinamel white onto the hull this morning.  I've pretty much got full cover with the one coat of primer and two of the finish.

I'd do another coat of the white tonight, but the guys down at the Miller store told me one a day at the current temp and humidity.  I was dow there picking up the color for everything under the bashwales. I'm going with a Green that's appropriately name "Aquadazzle".   Apparently because of the heavy color, I need to give that two days between coats under these conditions.  We're running @ 50-60 degress and raining like hell in Portland OR.

Here's the stuff I'm using.


And here's how she's looking now.


Looks like I won't be able to post the two tone for a bit.  I was told I'd nee 3 coats of the green to obtain the shade I chose, and there's a 2 day wait between coats.  I't supposed to get cold tuesday, then run between 45-55 degrees for the rest of the week.  I imagine I'll have the color on by next weekend.

Saturday, October 24, 2015

Time to Prime. Hull all one color for once.

Today was a long day.  4 mile walk with the dog.  sand the whole hull again with 150 grit.  Thoroughly clean boat and garage.  lunch and a little TV, then time to get the dog out again.  Home and a little dinner then out to the shop to paint.  Sit down after shower with laptop to post, 10:20pm.

It's a good tired though.

Here's the boat with the top half primed tom my color break.  I'm thinking a cerulean blue or hunter green for the lower.  Don't want to go too dark.

Cant't stop there though.  that was all the hard stuff.  Motored one through for the whole exterior.  I was rolling and tipping the primer.  Maybe a waste of effort at this point, but I wanted to get the motions down again for when I get to the finish coats.

All one color outside.  A major landmark in a boat building project.

I was lubricating my painting arm with a little Pendleton.  The glass of course got primed.


That's OK, I fixed it.  Primer is on that glass pretty good.  It's a good sign.


Friday, October 23, 2015

Fairing and windows

So I got the whole boat sanded with 150grit.  Some may remember that I used some Mahogany ACX plywood and turned the C side out as recommended by Bolger and Payson.  Some of the grain runs pretty deep in that veneer, so I took a pass around the boat with some epoxy fairing compound to hit the worst of it after the initial sanding.

I'm going to sand one more time.  Any imperfections remaining are either going to be taken care of with glazing compound after the primer is on or just remain for eternity.  I told myself when I started this project that I was just going for a work boat finish.  Things were coming out so well that I started raising the bar on that.  Thing is, it's starting to dip under 50 at night and I want the paint on before winter proper sets in.  The shop isn't heated.

Next boat that I want to have any real lifespan, I'm springing for the Meranti at Mr Plywood.  There have been many steps in the process where i would have appreciated the higher quality material, and this step is just the icing on the cake.

The good thing that happened this week is I saw 1/4" Plexigass with a light tint on Craigslist for $30.00 per 47x64 sheet.  Some guy pulled apart his greenhouse.  There're some scratches and such in places, but this is almost twice the amount i need for the boat.  I can practice my plexiglass skills on the worst portions before getting down to business on the nicer parts.  Jim Specified 3/16", so this is just slightly heavier than specified.  The tint is almost perfect, not too heavy.


So the goal for this weekend is to sand the whole boat again and get the first coat of primer on the exterior.  I'm waiting on the cabin interior until i know i've glued all the bits inside that I'm going to want.  I'll probably do the interior above the Gunwales so i can permanently install the windows, But I know I'm going to want solid tie downs for battery, cooler, jam cleats, etc.  If I just nail those to the bottom and sides with no dimensional timber buildup, I'll be constantly in danger of running a screw tip through the exterior.  

It just hit me last night that once the paint is on the boat I could actually throw the 2hp on the back and take her for a ride.  I'll wait until spring though when the paint has had plenty of time to harden and I've finished the sailing rig.  That's the plan anyway, and I ALWAYS follow the plan.....

Sunday, October 4, 2015

Framing finished

So I've officially finished all of the pieces that go into the hull and have nothing left to do but fill, sand and paint.  The windows and hatches will be plexiglass and mounted after painting, so I guess I technically have those to make.  Other than that, It's just the mast and spars, which are pretty quick and easy.


I rolled her outside and whipped up a batch of epoxy and filler and started plugging screw holes and cracks.  Left her outside in the sun to cure.  I'll give it about 3 days and start in with the 80 grit all over.  One more run around with filler and the sand, sand, sand.  Hopefully I get all of the paint on before the real cold sets in.  I left the rig to last on purpose so i wouldn't be tempted to run her down to the water before the paint has a chance to get good and hard.