So no action here for a while. Sorry about that, I know how it is when I get to following a build and the information dries up suddenly.
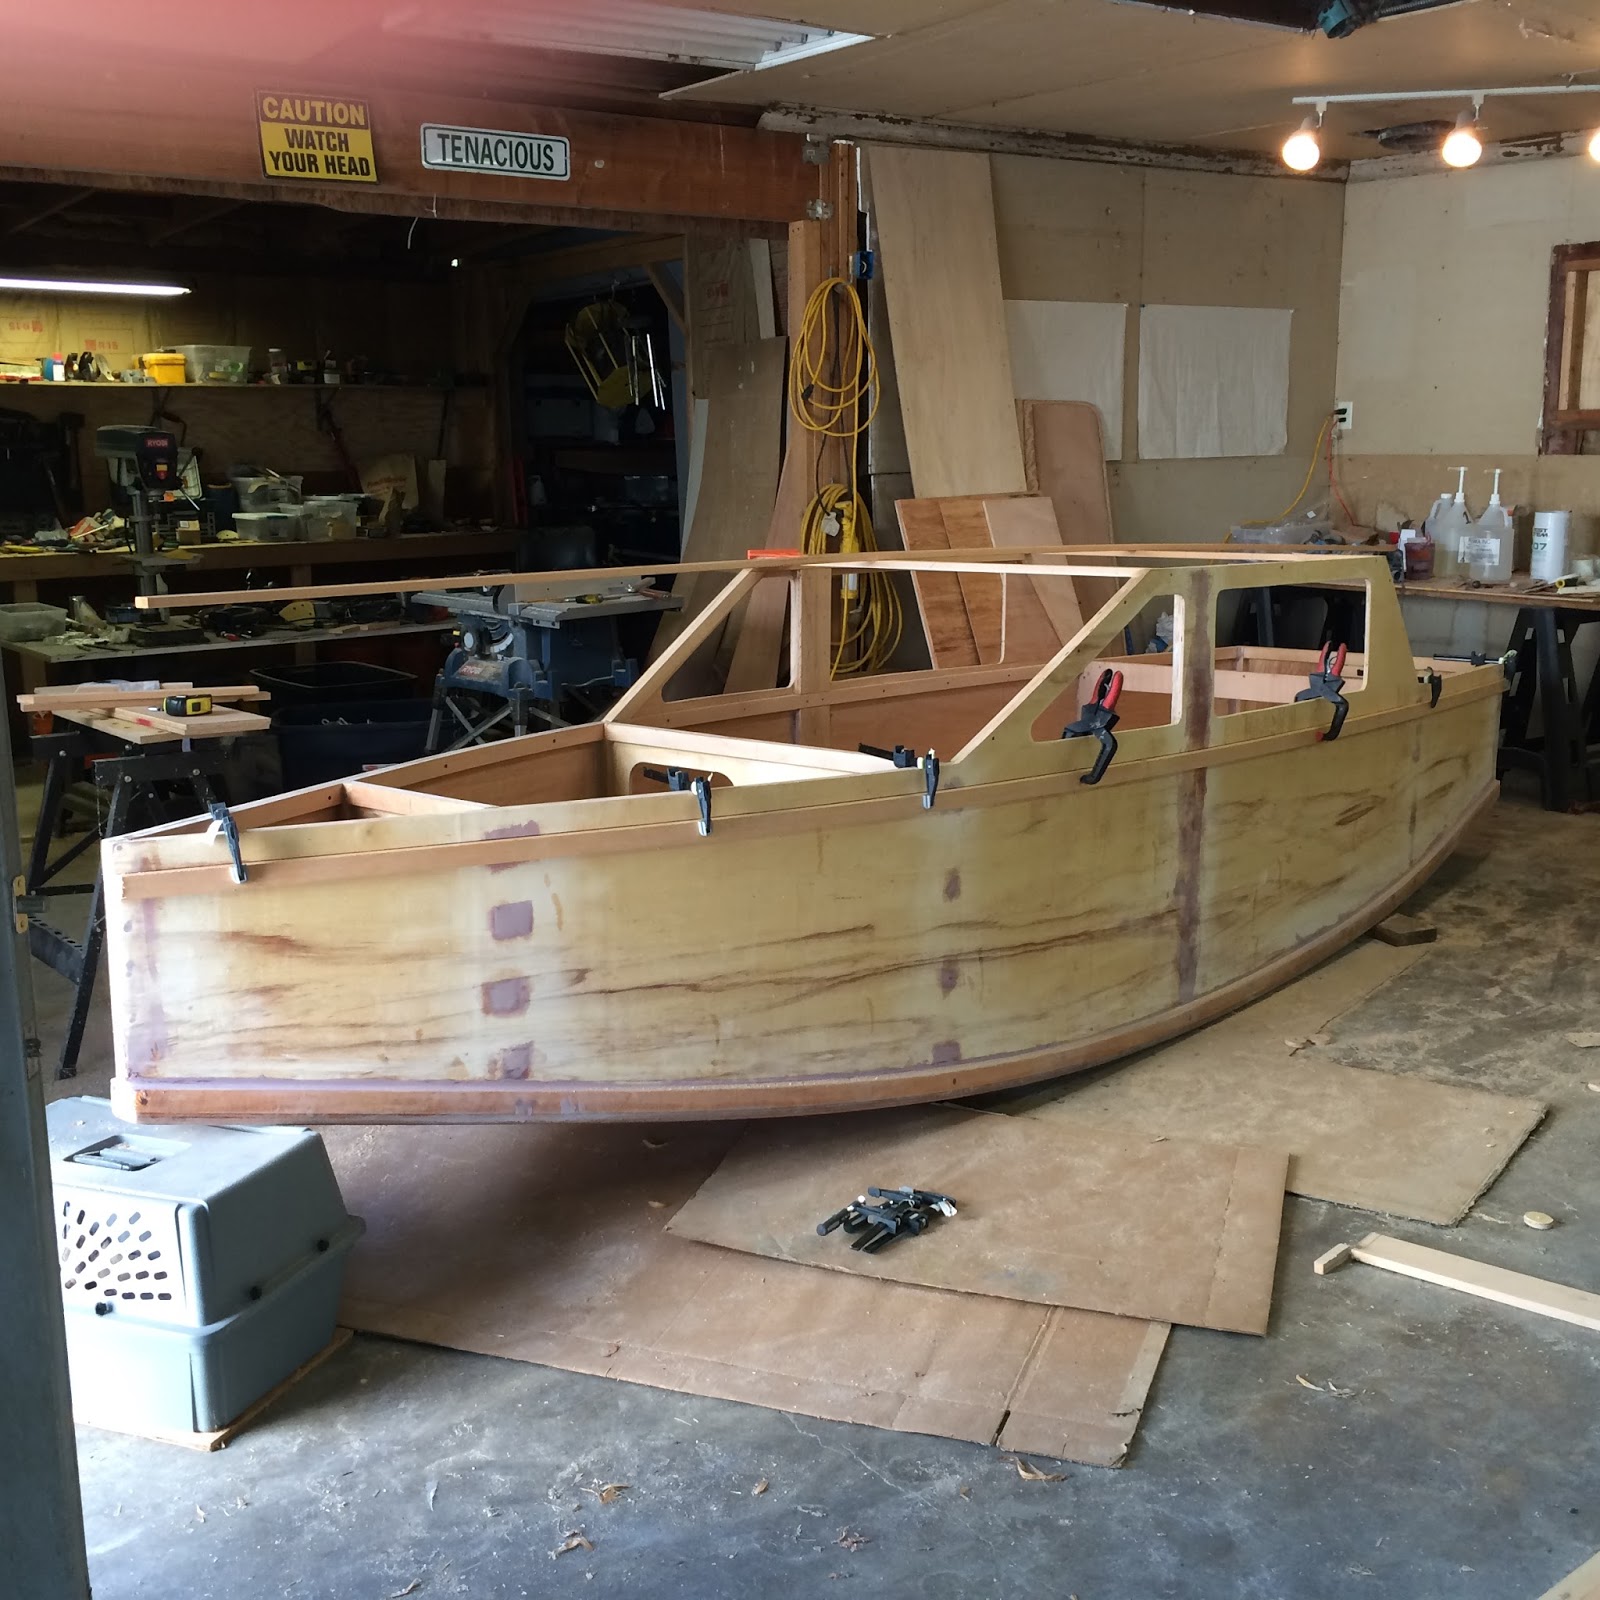
I didn't want to turn the boat right side up until I had all of the bottom work done. This meant glass and paint. She's a pretty heavy little boat, and I didn't want to turtle her on the concrete once she was up to full weight with a bunch of the cabin sides cut out for windows.
The fiberglass is what slowed me down. I've always been pretty sensitive, and I was gonna need @ 1.5 gallons to get the bottom and chines done up. I got a killer deal on a 3 gallon RAKA kit from Andy Linn over at the Toledo boathouse. I met him at the Depot bay wooden boat show and picked it up. Very nice guy. Ac week or so later, I picked up the cloth and tape at TAP Plastics. All I needed was the time and inclination.
I should mention I spent a fair amount of time filling screw holes and rounding chines. I made the silly mistake of hitting some of the hole fills with the sander while the epoxy was still green and I didn't have any long sleeves on. Gave myself a nice rash on the forearm.
This weekend It finally struck me that I gotta just bite the bullet and get it done. I want to sail this boat this summer, and this is the one big holdup. So I jumped to it @ 3:00pm This Saturday. Spent 3-1/2 hours laying down the bottom cloth and chine tape with no help except Gracie in the house keeping the dogs out of my way. I laid and trimmed the cloth on dry, then squeegeed the resin in. I ended up just using my hands to smooth the chine tape on. Looking at the resin soaked palms on my nitrile gloves had me praying I wasn't going to be fighting another rash. It was the only good way to smooth it down tight on that vertical surface and form the overlap with the bottom cloth. Came out great. Went into the house pretty tired. Had some pork roast, beans and a couple of whiskeys on the rocks and passed out early.
Got up @ 8:00am and had breakfast and walked out to check the boat, hoping there resin would still be slightly tacky for a good chemical bond. Bone dry to the touch. Did such a good job with the squeegee that there were no white dry areas, but it had a texture like a cheese grater from the cloth. Panic email to the groups wondering If I was gonna have to sand, because that wasn't gonna work out to well without taking off a bunch of the cloth i just laid down. David G over at Harbor boat works suggested I check RAKA'S site for timetables on cure, but I should get on it ASAP.
I bypassed the website and dove out to get it done. Here's what she's looking like now.
Might have to do one more little weave fill this evening. Managed to keep it all off of me so far. No longer afraid of the process, so I'll probably be skim coating the rest of the boat. The stem and transom will get some cloth of course, but not the sides or the deck.


